For a variety of reasons, I have spent this week indoors which doesn't make me feel particularly productive at the best of times. Aside from playing numerous games of chess against my computer (and only winning ONE game so far...did not realise my laptop had such a massive brain) and doing some work, my daily activities haven't been particularly exciting with sleep probably being the highlight of the day. Today, however, I decided that I would have something to show for my day at home and it is for this reason that, ladies and gents, I present to you....
For Christmas, my Mum gave me this book:
50 treats on sticks it promises me! Treat number one for me was the "Double Choc Cake Pop" and here is how you can make it too.
Warning: my first attempt took AGES. Consider cancelling your plans for the afternoon. Putting on Adele's most recent album and belting out "Someone like you" is optional.
To get this:
there are three stages.
STAGE NUMBER ONE:
- Make a cake! The recipe in the book is a bit different to how I usually make cakes but looks yummier and more thorough to be honest so it looks good!
You will need:
185g unsalted butter, just softened
165g caster sugar
2 teaspoons vanilla essence
3 eggs, at room temperature
300g plain flour
3 teaspoons baking powder
125ml milk
1. Preheat oven to 180C. Grease and line a cake tin. (The book suggests a round tin but I rebelled and used a square one and it was all fiiine. Not sure how it makes a difference...please tell me if you know otherwise!)
2. Beat the butter, sugar and vanilla in a medium-sized bowl until pale and creamy. Add the eggs in one at a time and beat well after each. You can use an electric mixer for this but it worked just fine with a fork!
3. Sift together the flour and baking powder. Mix this into the main bowl, along with the milk, but do this alternately until it is all mixed together well.
4. Spoon the mixture into the tin and smooth the surface with the back of a spoon or a good old spatula.
Wonderful! Bake for 45-50 minutes and then leave to cool.
And that's part 1 done!
STEP NUMBER TWO:
- Making chocolate buttercream!
You will need:
- 100g unsalted butter, just softened
- 1 teaspoon vanilla essence
- 65g dark chocolate, melted, cooled
- 185g pure icing sugar, sifted
The book also suggests adding 2 tablespoons unsweetened cocoa powder to the sifted icing sugar but I ignored this.
1. Beat the butter and vanilla essence together til soft.
2. Add the cooled, melted chocolate to this mixture and keep mixing til it looks smooth and acceptable.
3. Sift the icing sugar into this mixture. It probably would have worked better had I added the icing sugar in small batches so perhaps try that.
4. More mixing.
STEP NUMBER THREE:
- Cake pop time! Finally!
The fantastic surprise is that you will only be using HALF of your wonderful cake so you are free to do whatever you like with the other half!! Save it for later (you can even freeze it and use in your next cake pop venture) or decorate and give to a friend :) You will also need some white chocolate and some wooden skewers.
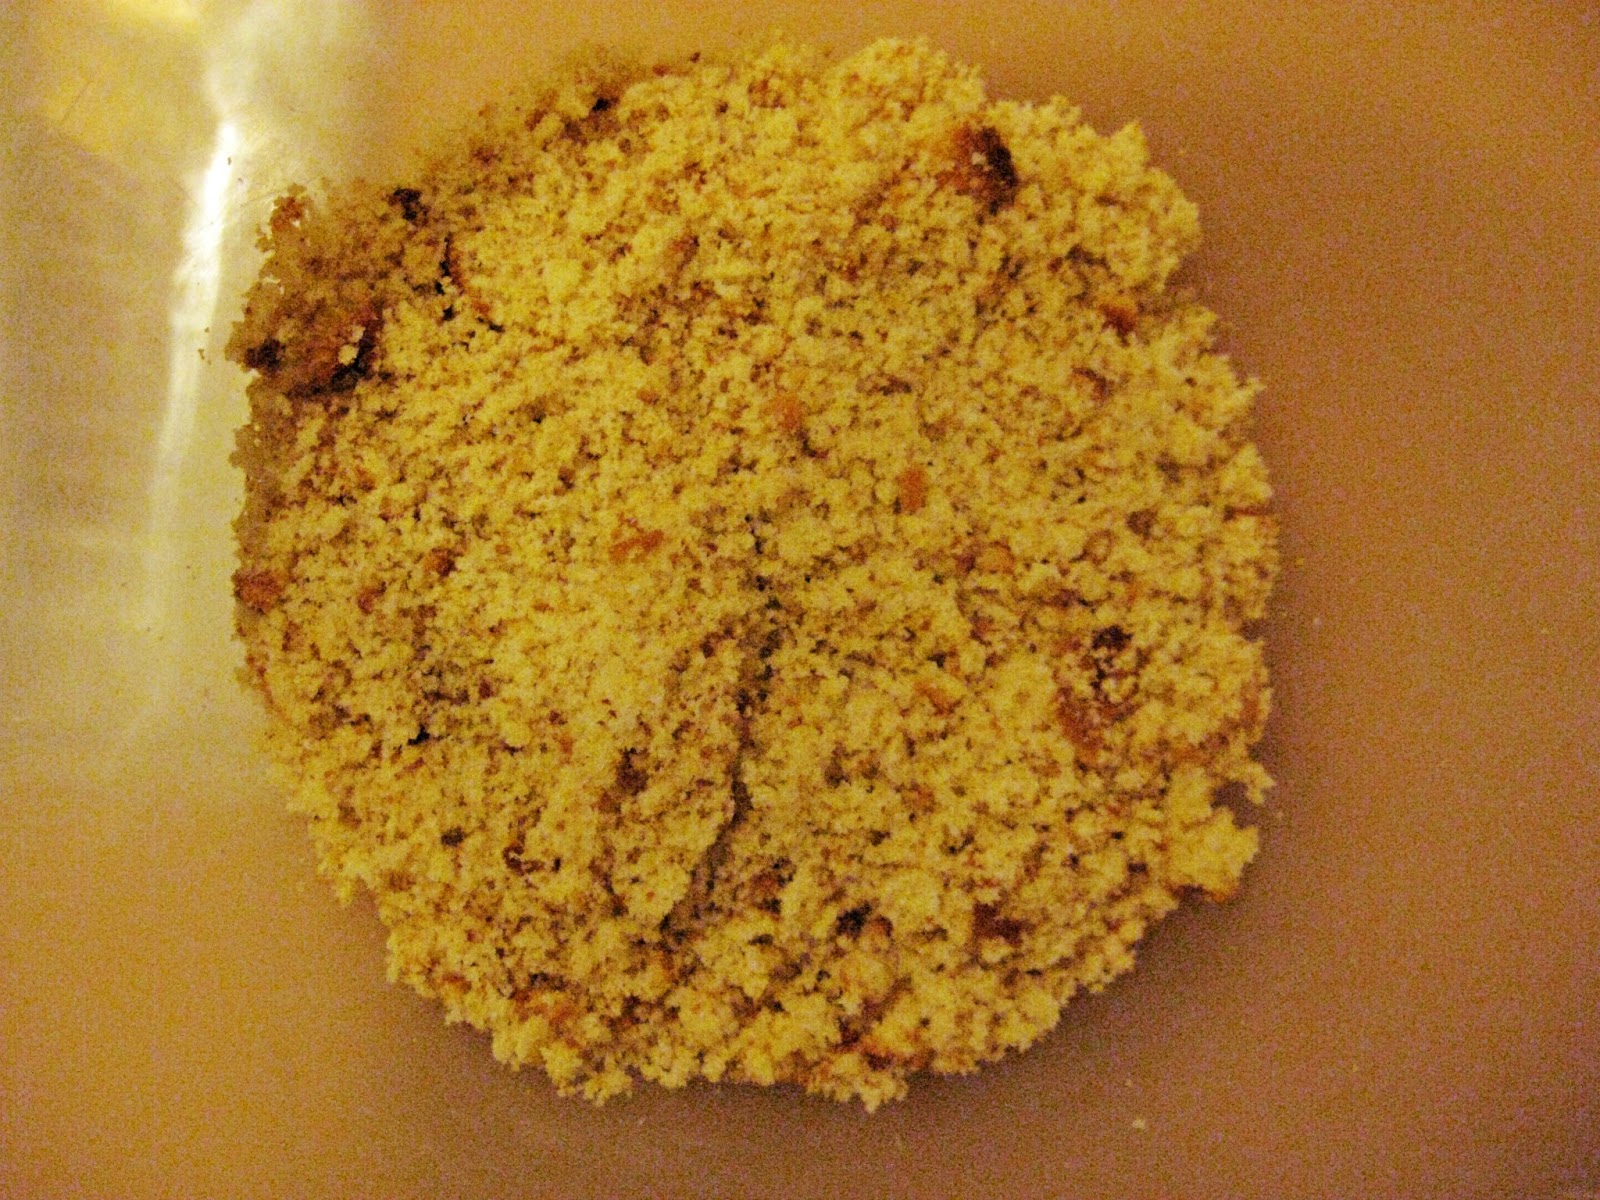
1. Destroy the cake by breaking it up into small pieces. Lots and lots of little, evenly sized crumbs. Best to do this in a large bowl so your tears can be caught too. Emotional cake journey.
2. Mix the chocolate buttercream that you created in step two to the cake crumbs. Keep mixing away.
3. Once the consistency is good enough, take a little dollop of the mixture and roll it into a small ball.
4. Keep doing this until all of the mixture has gone! It should make around 20. Place the little balls on a baking tray lined with greaseproof paper.
5. Pop in the fridge until they harden....more waiting...(told you it was lengthy)
Many moons later....
6. Melt white chocolate in a bowl over a pan of simmering water. Turns out if you try to just melt it in a pan it doesn't really cooperate and you end up with a lumpy light brown ish mixture. Oops.
7. Dip the end of the wooden skewer into the chocolate and then insert into a cake ball and pop it back on the tray. Do this with the rest of the balls and sticks and then put the tray in the fridge and wait til the balls are secured on the sticks. Should take around 10 minutes. SHOULD take...
8. To decorate, dip the cake pops one at a time into the rest of the melted chocolate and remove excess chocolate by tapping the skewer on the edge of the bowl. Get creative and wiggle it around (in time to music if you like) to make a nice little swirly effect. Let me know if you figure out how to do this neatly. Can't say mine are the most presentable but my Mum says they tasted superb and that's what's important!!
9. Insert the sticks into a polystyrene block (because you've always got those lying around...) or stick them in a vase or something. Leave the chocolate to set for around 10 minutes. (I assume you've moved onto another album by now)
10. If you fancy doing the same with dark chocolate as well as white chocolate then just repeat number 8. Or do as I did and cover them with Smarties to detract from the horrific presentation which looks nothing like in the book. Serves me right for using a square tin.
11. Finally, drizzle with any leftover white chocolate or eat it up with a spoon like I did.
Et voilà! A million hours later....CAKE POPS!
You need to gobble them up within two days and make sure you keep them in an airtight container in the fridge. Let them chill out at room temperature for about 20 minutes before serving.
Yum yum yum.
Now who wants to take these off me?
Pin It Now!